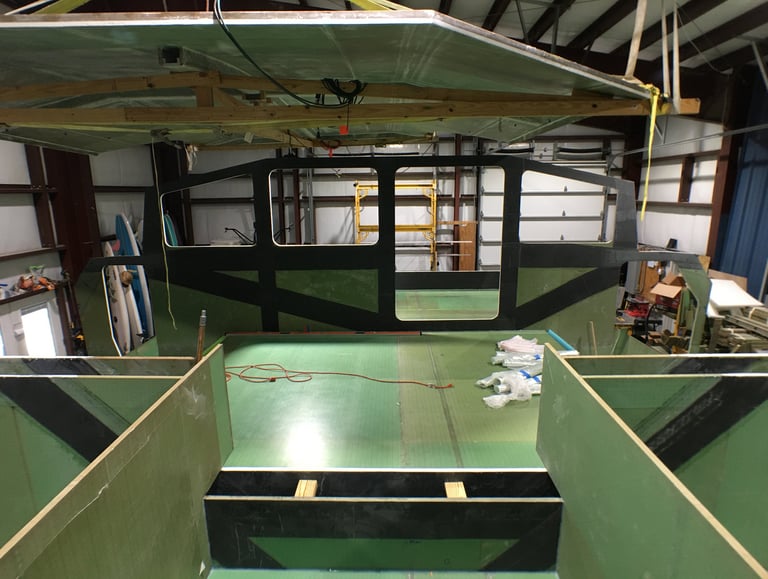
#24: Bridge Deck
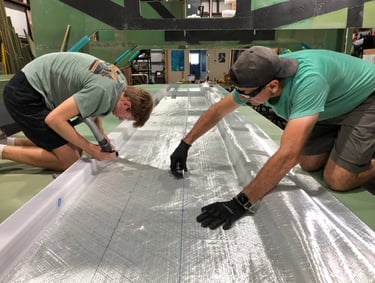
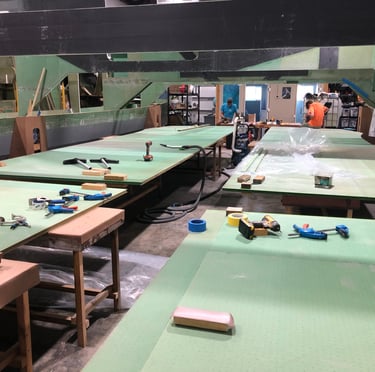
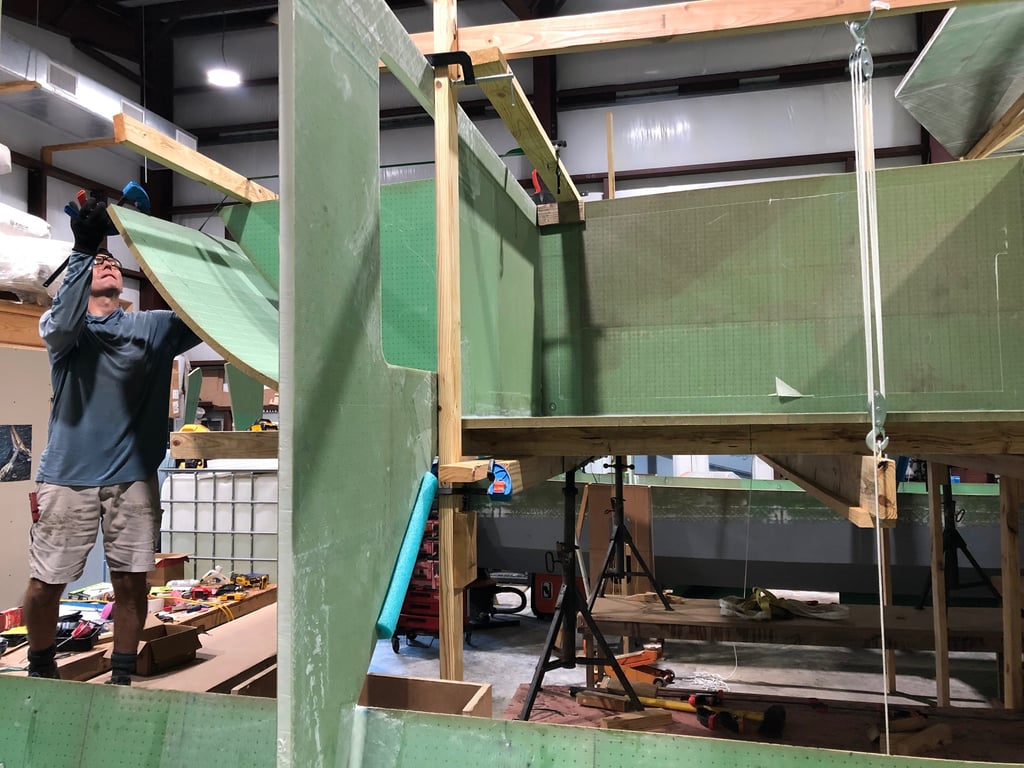
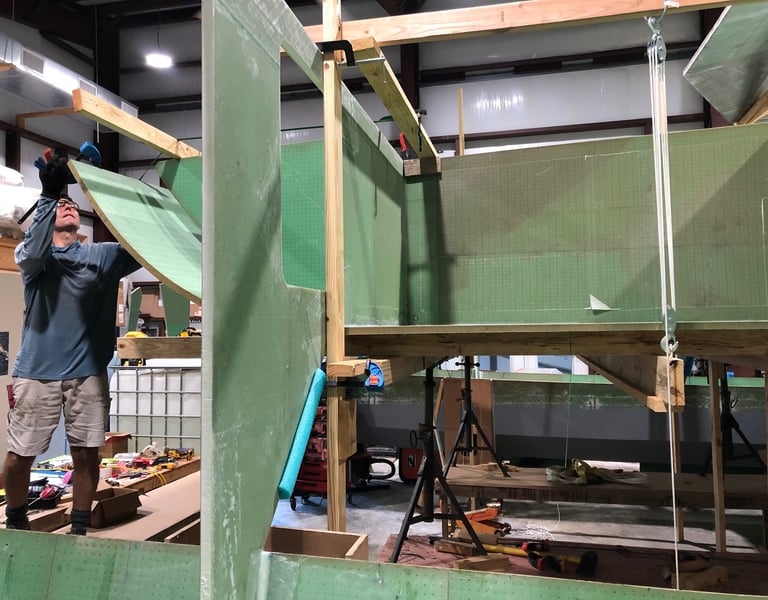
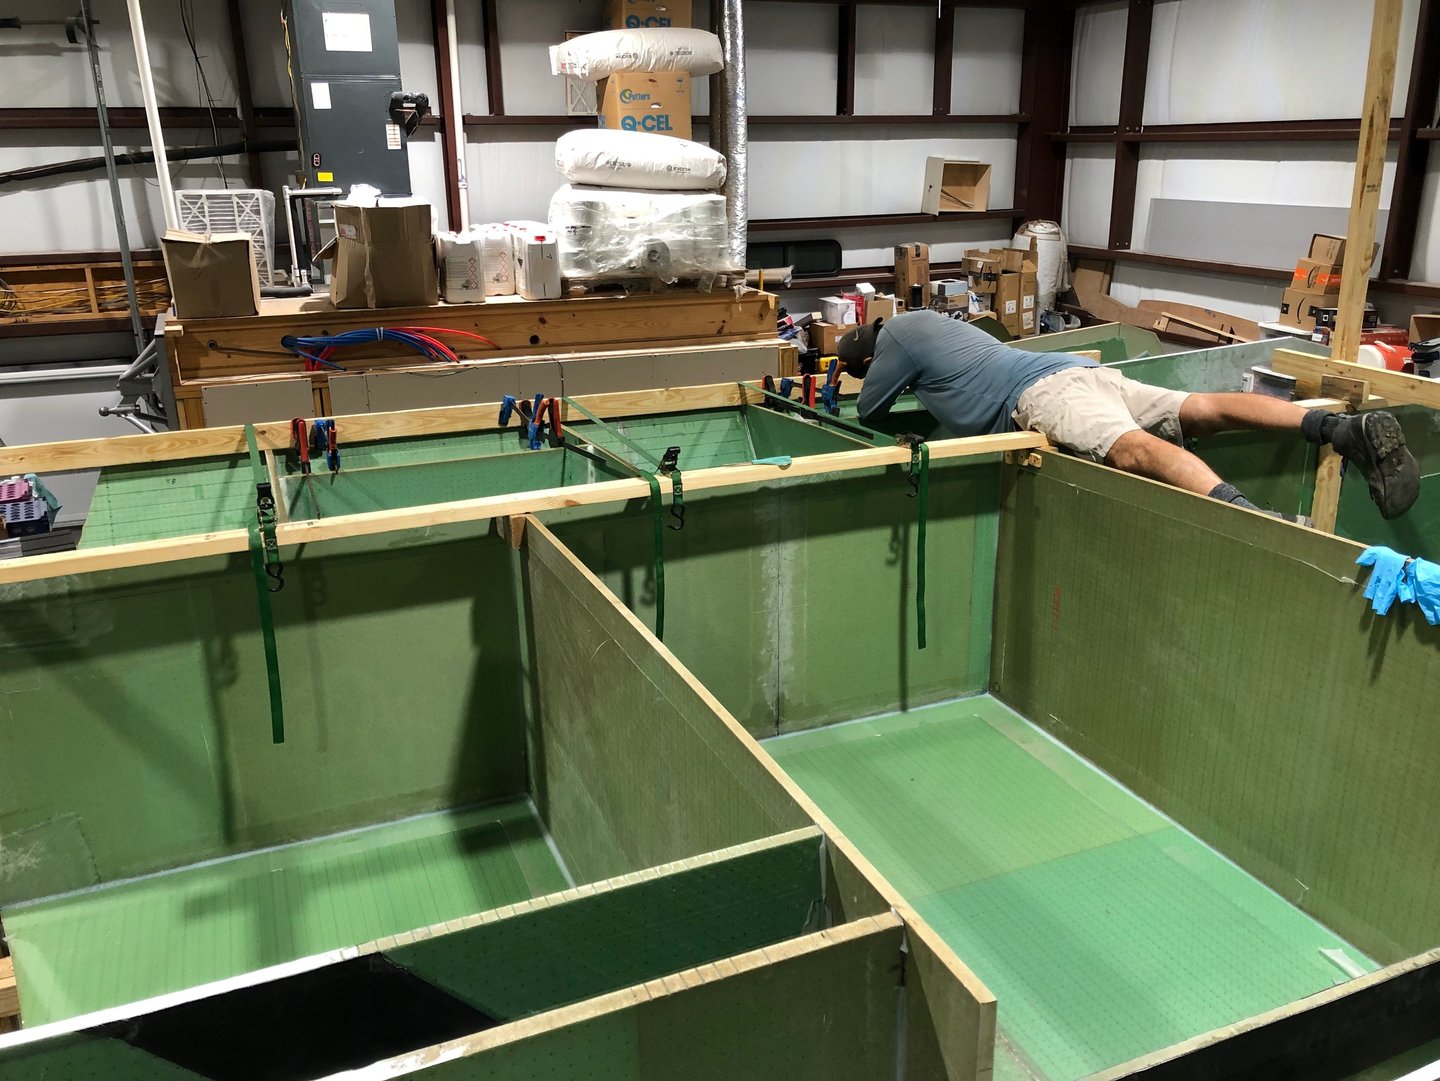
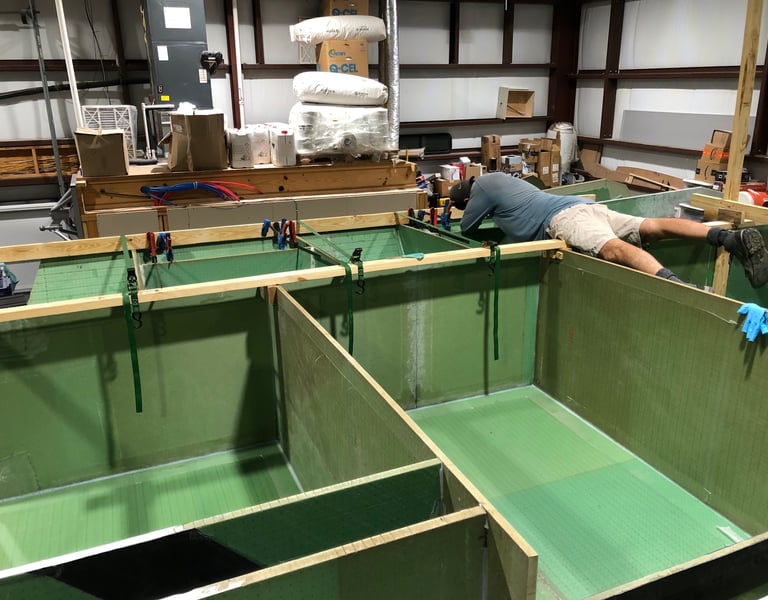
We kicked off August by setting out the two biggest pieces of the whole boat—all hands on deck! Can you guess what they make up? It’s the main floor of the boat between the hulls, otherwise known as the bridge deck.
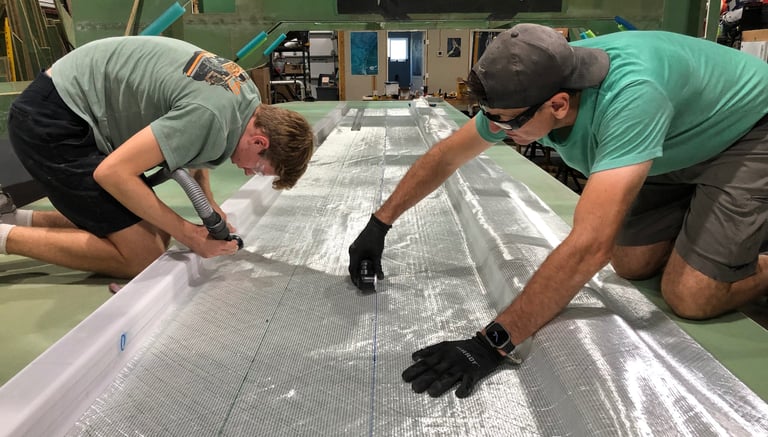
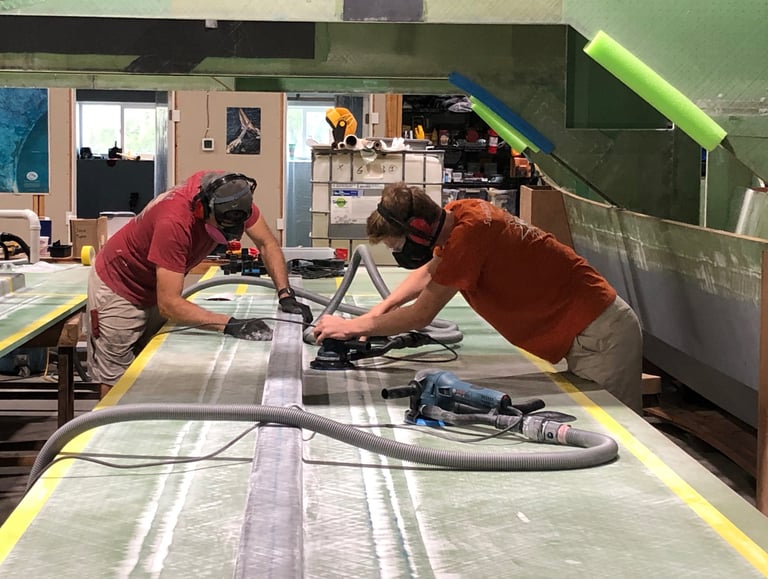
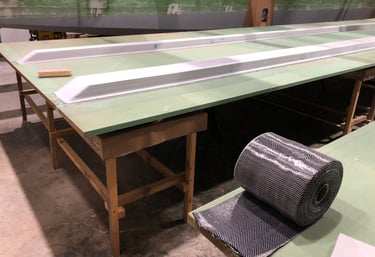
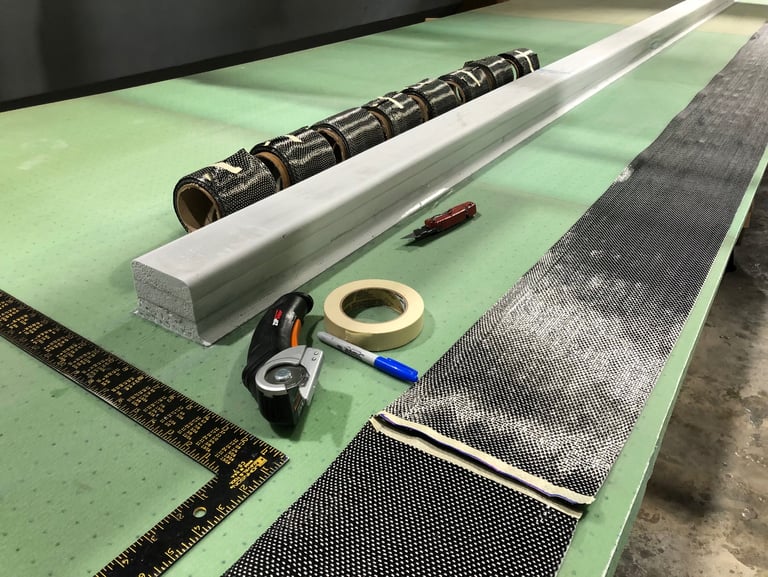
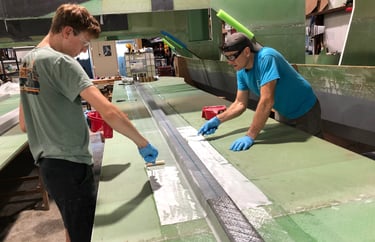
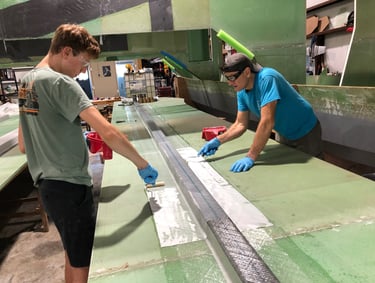
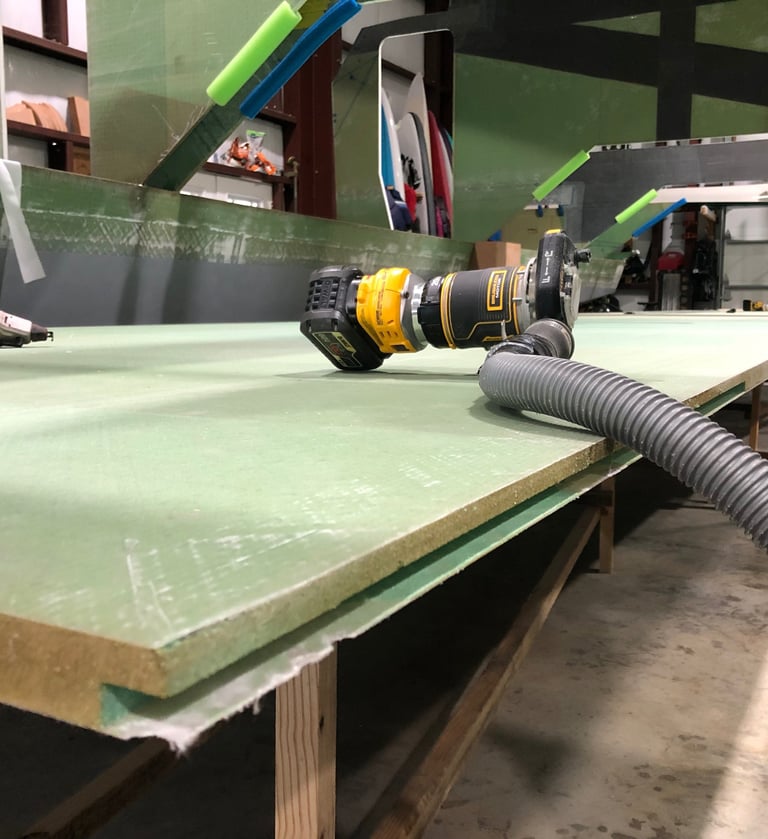
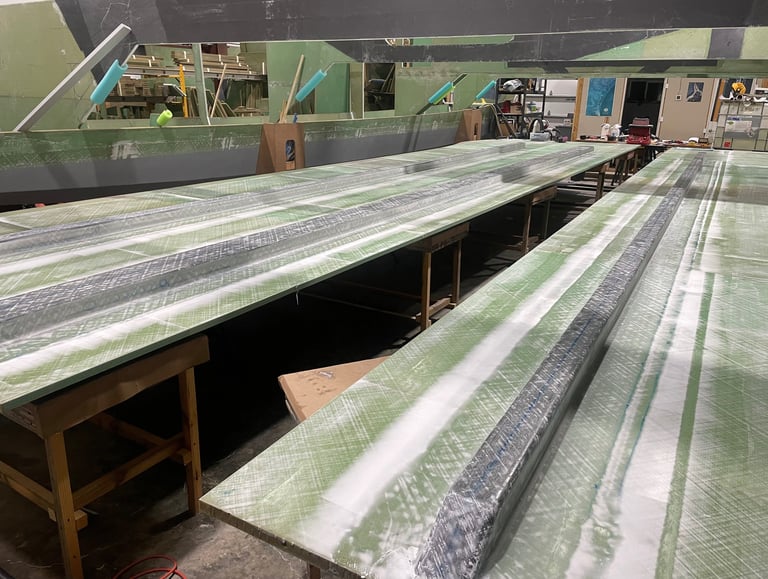
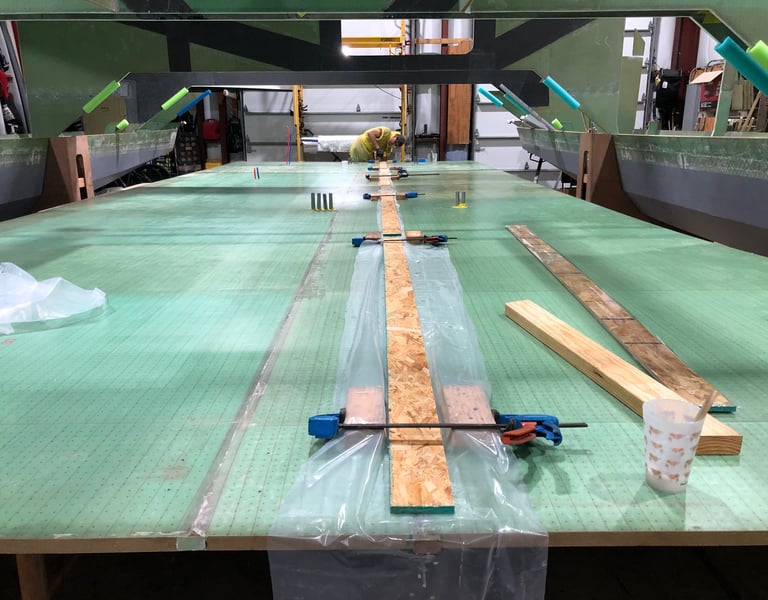
We decided to work on the floor pieces upside down since it would be easier to fabricate and adhere the three stiffeners. Those are the support beams that run longitudinally underneath the boat. We made them out of high-density foam, and then wrapped them in fiberglass and carbon fiber to reinforce them as specified by the designer.
The support beams will not only be the bridge deck’s spinal structural support to provide rigidity, but we also decided to run conduit for electricity and piping for hot and cold water, so Nick cut holes in the foam accordingly.
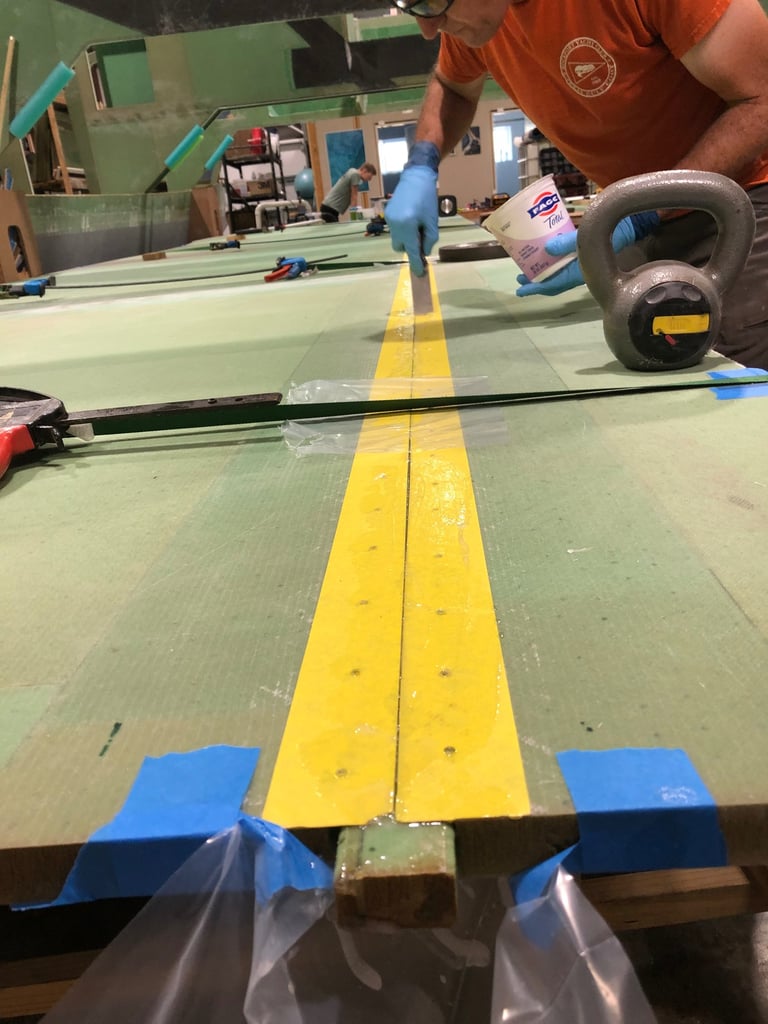
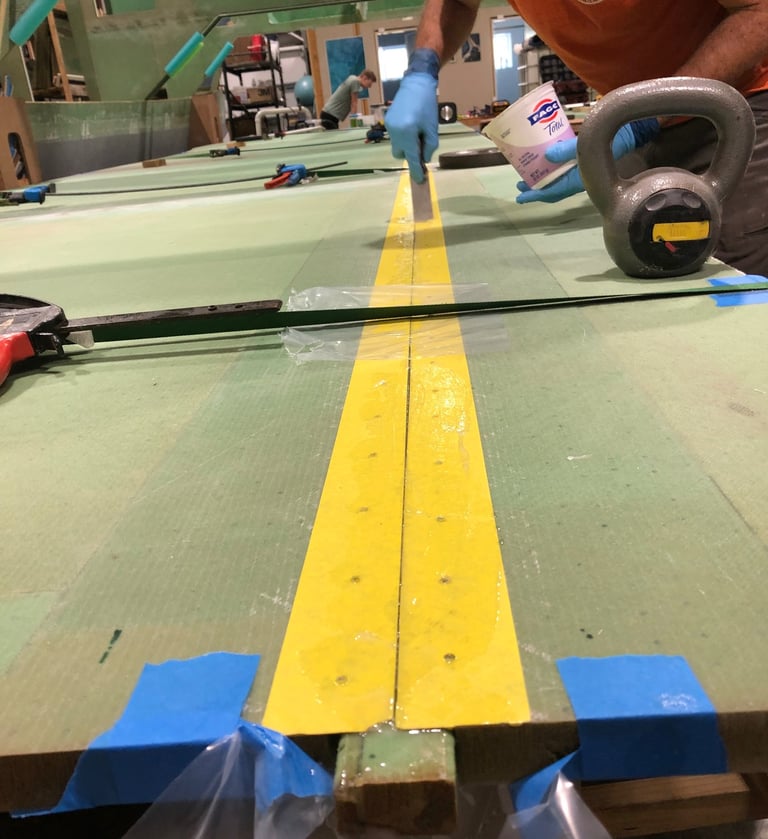
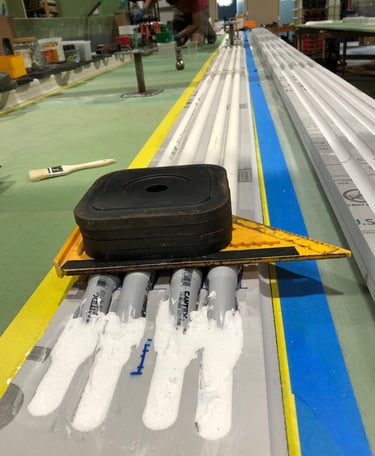
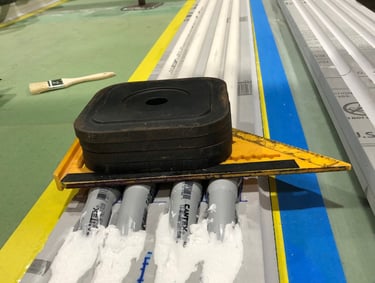
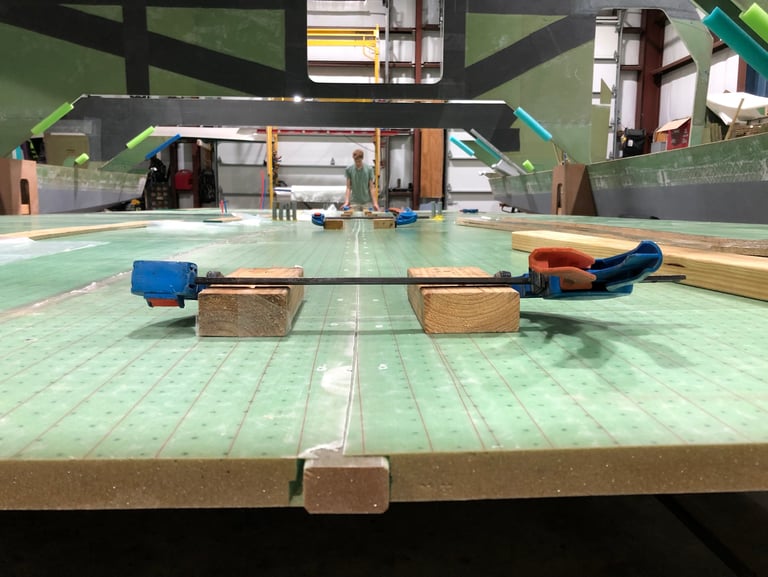
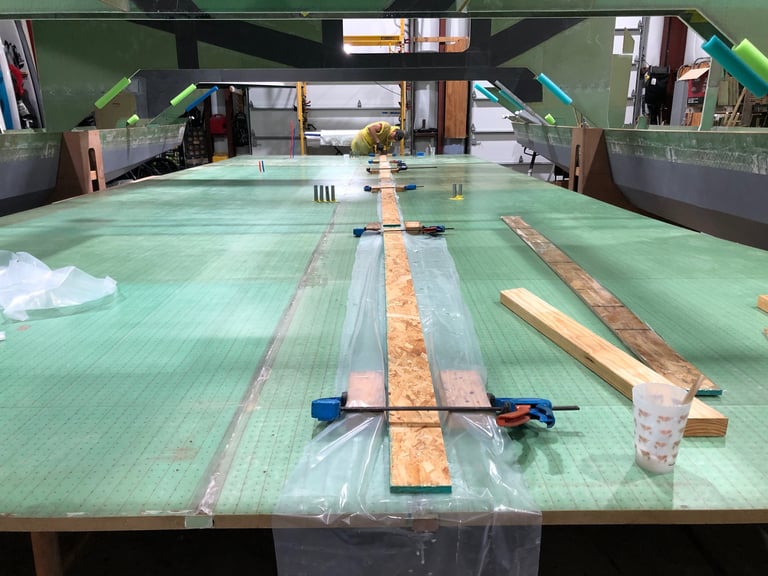
The bridge deck pieces were cut at the South African factory basically in half in order to fit in the shipping container. The splice was right where our main support beam should go, unfortunately. So, Nick cut the panels lengthwise about a foot over from the factory cut so he could then biscuit joint the deck pieces with enough material to cover with the middle support beam.
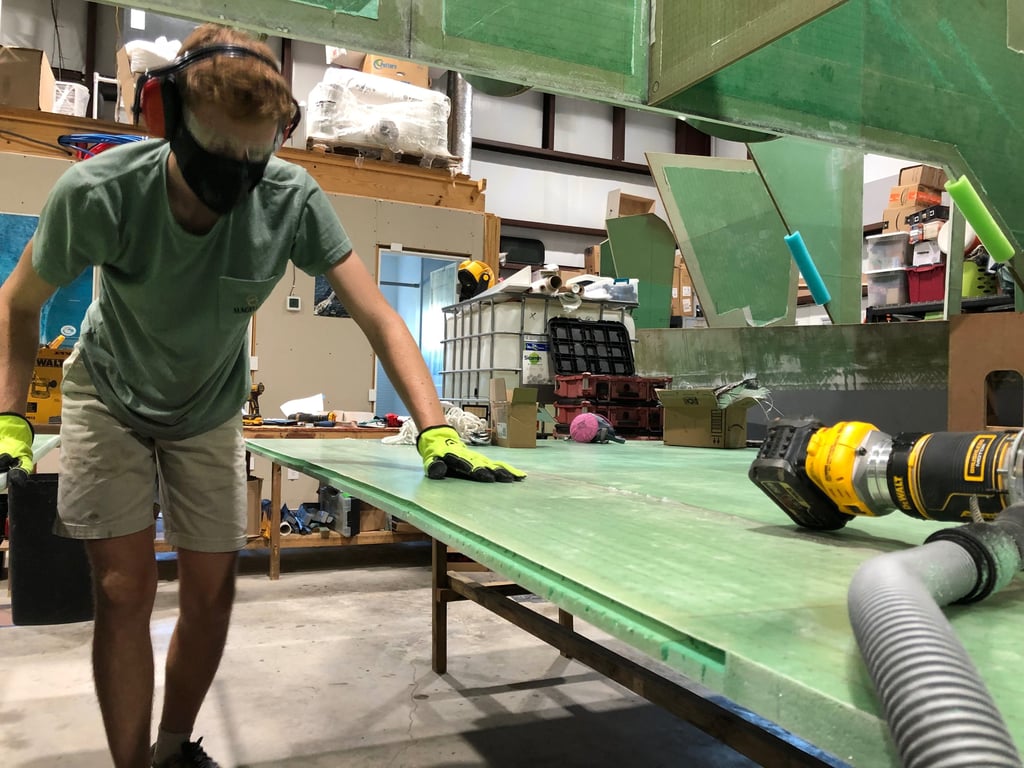
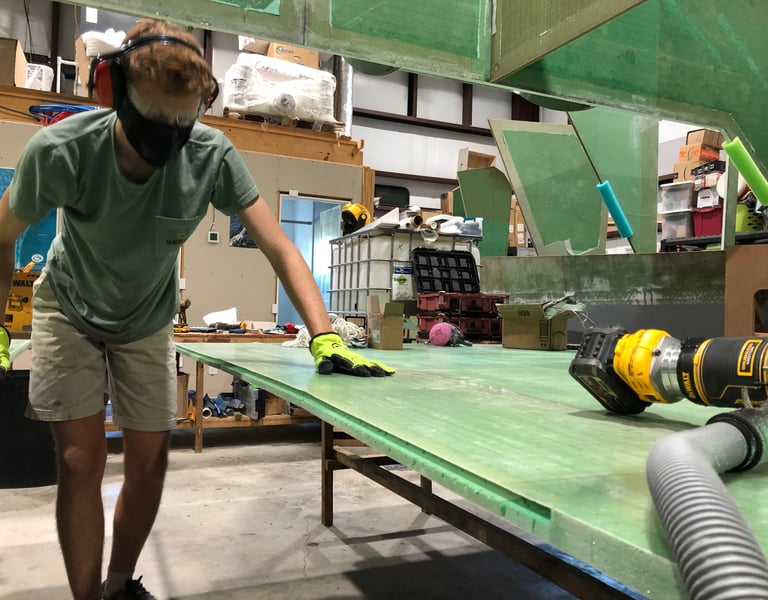
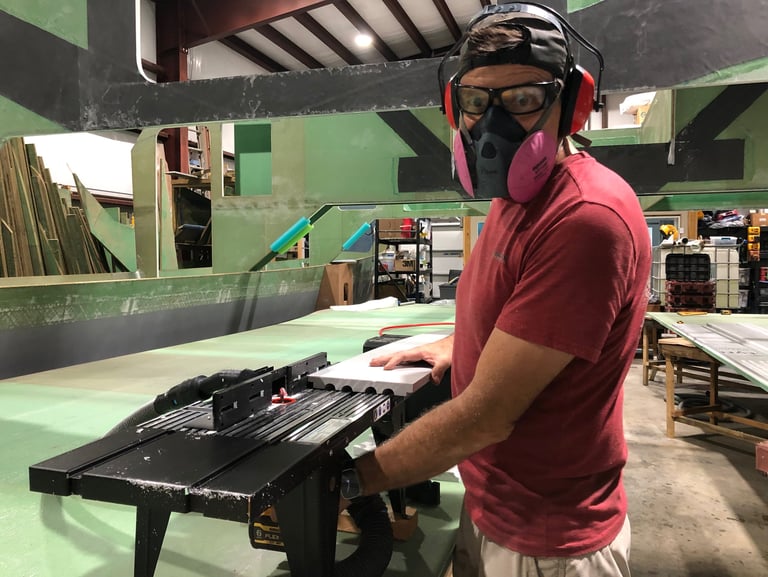
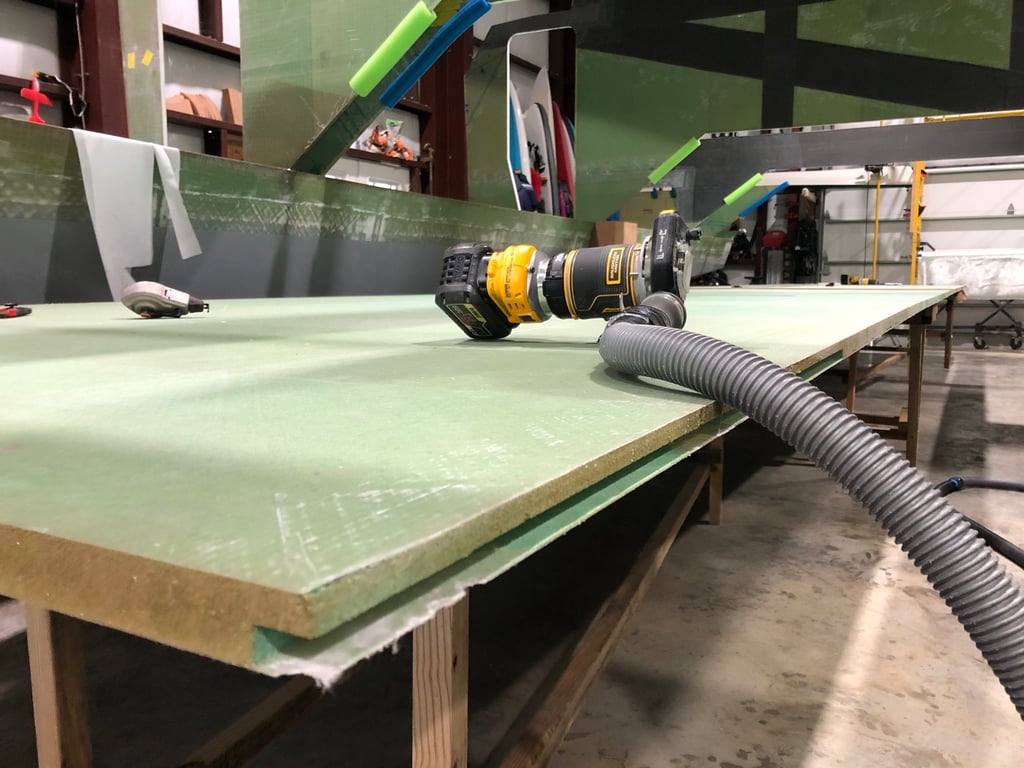
Faring took three weeks, but it’s sure smooth now!
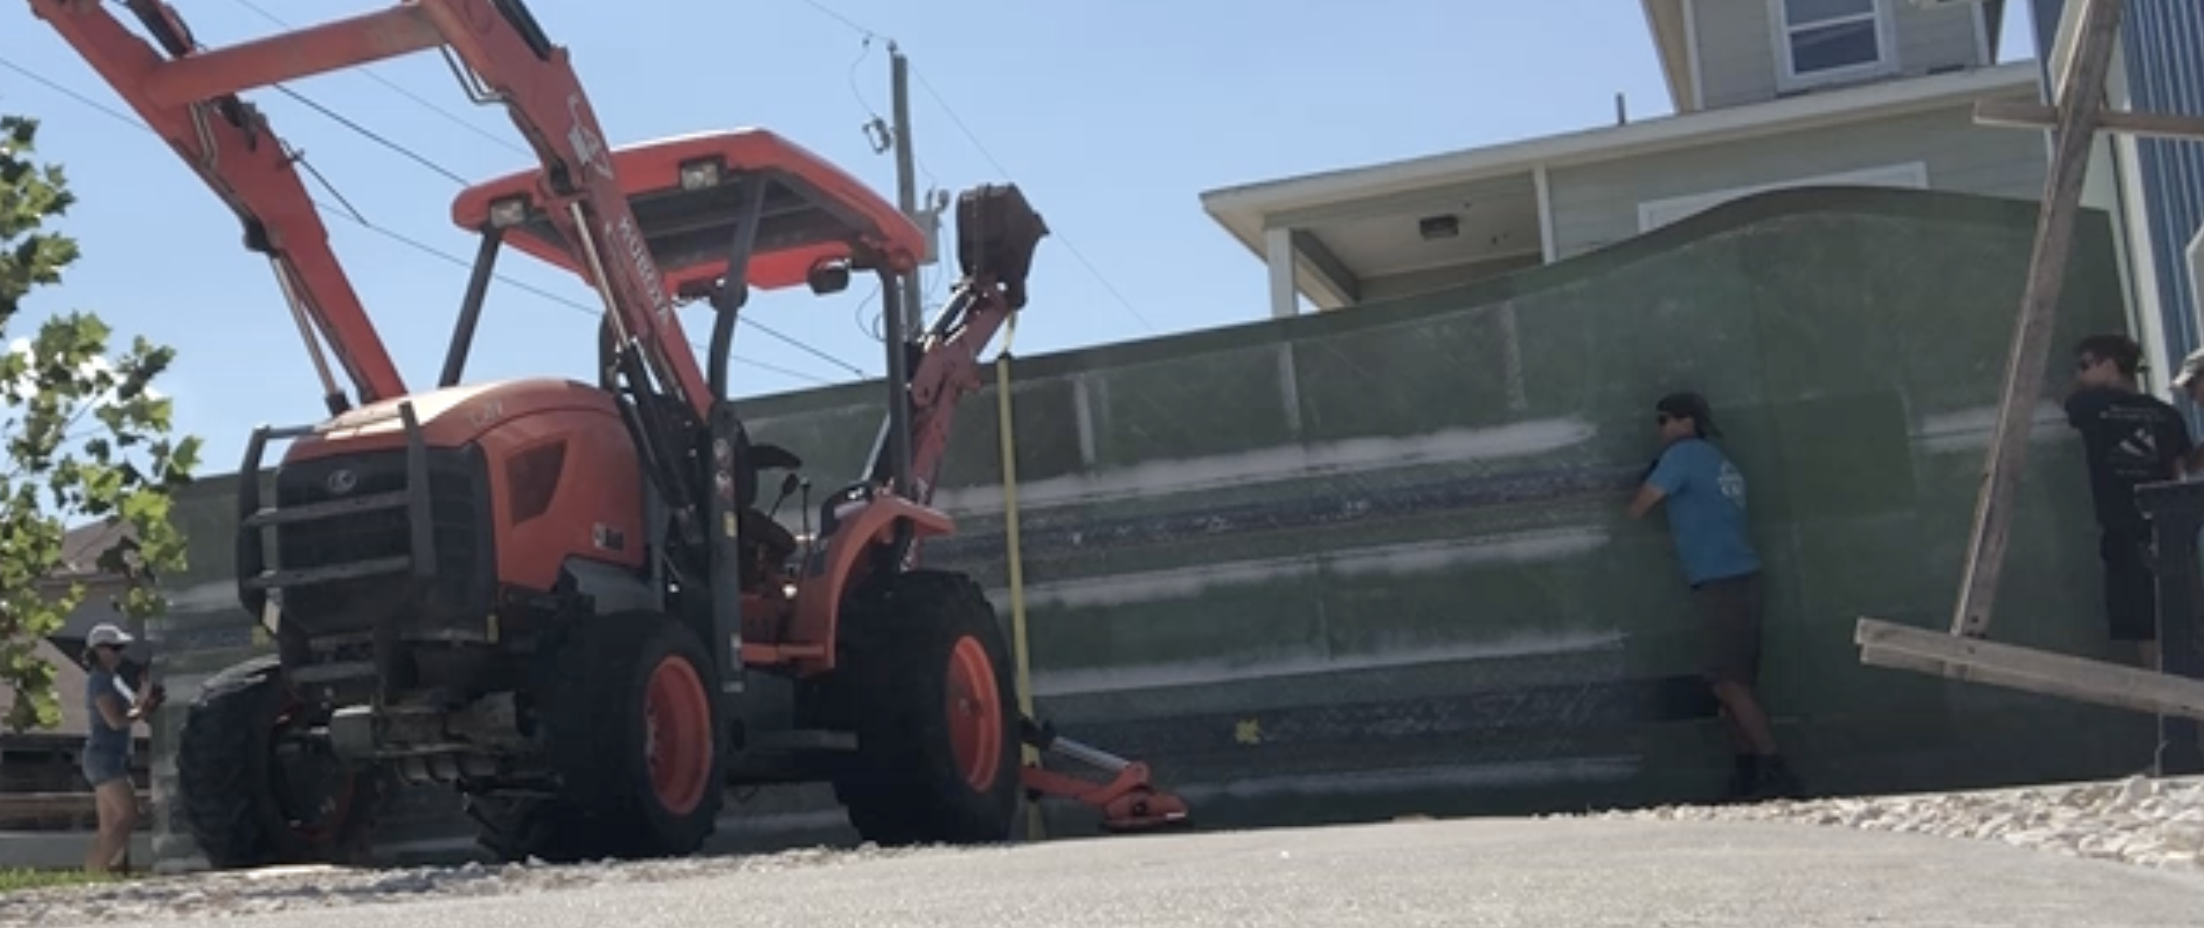
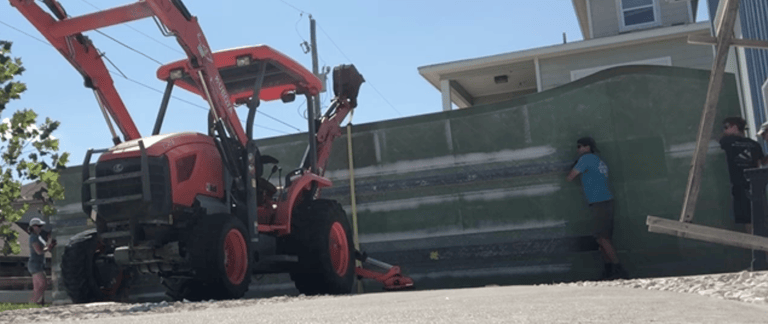
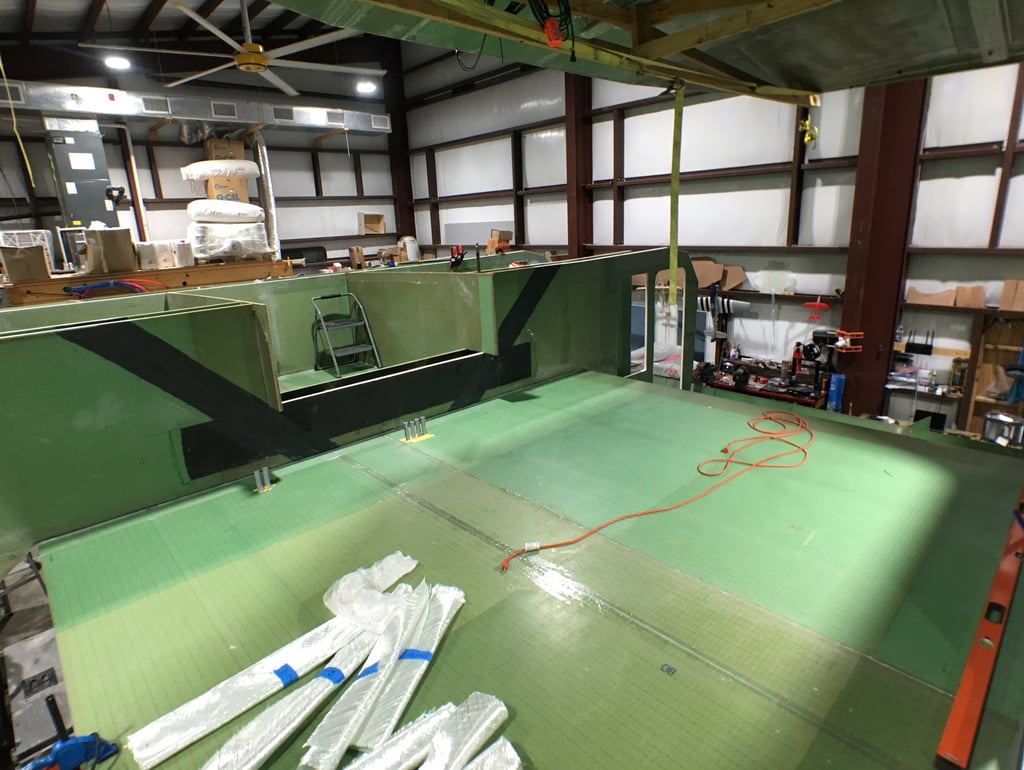
We carried the deck pieces outside so we could flip them right-side up, since we couldn’t flip them in the boat barn because our bulkheads were in the way. We enlisted the help of a tractor to flip those two big pieces, along with our neighbor who happened to swing by on a big day!
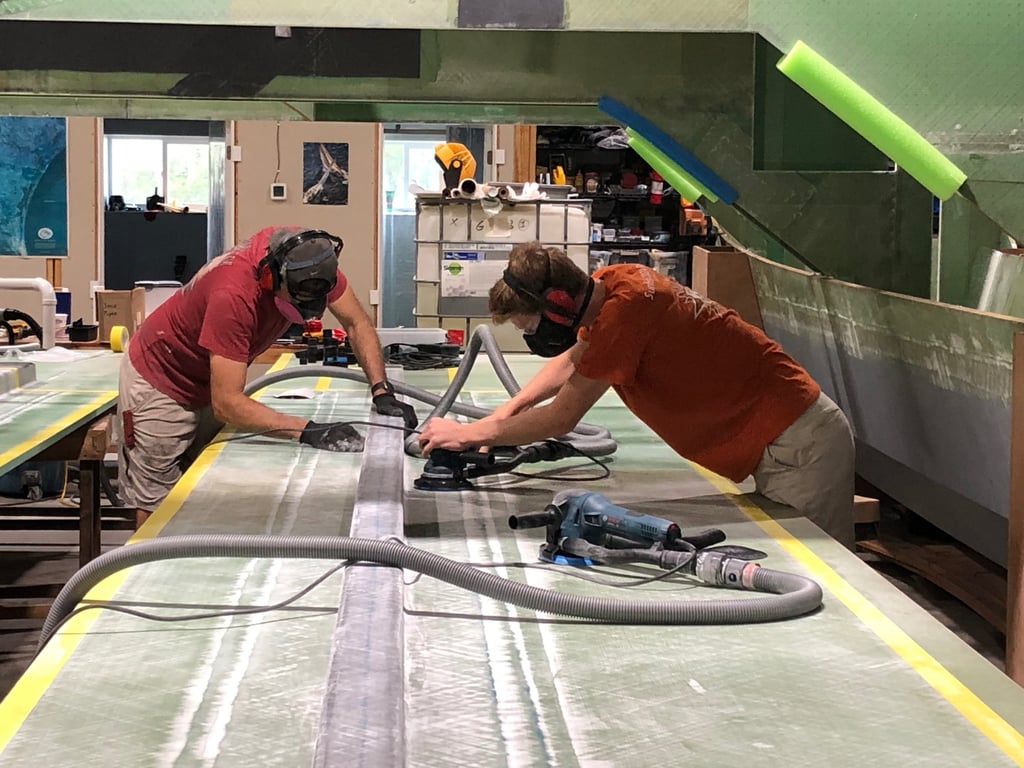

After we brought the bridge deck pieces back inside right-side up, we carved out a new biscuit joint and bonded the two halves together. We did a dry fit and then the real deal.

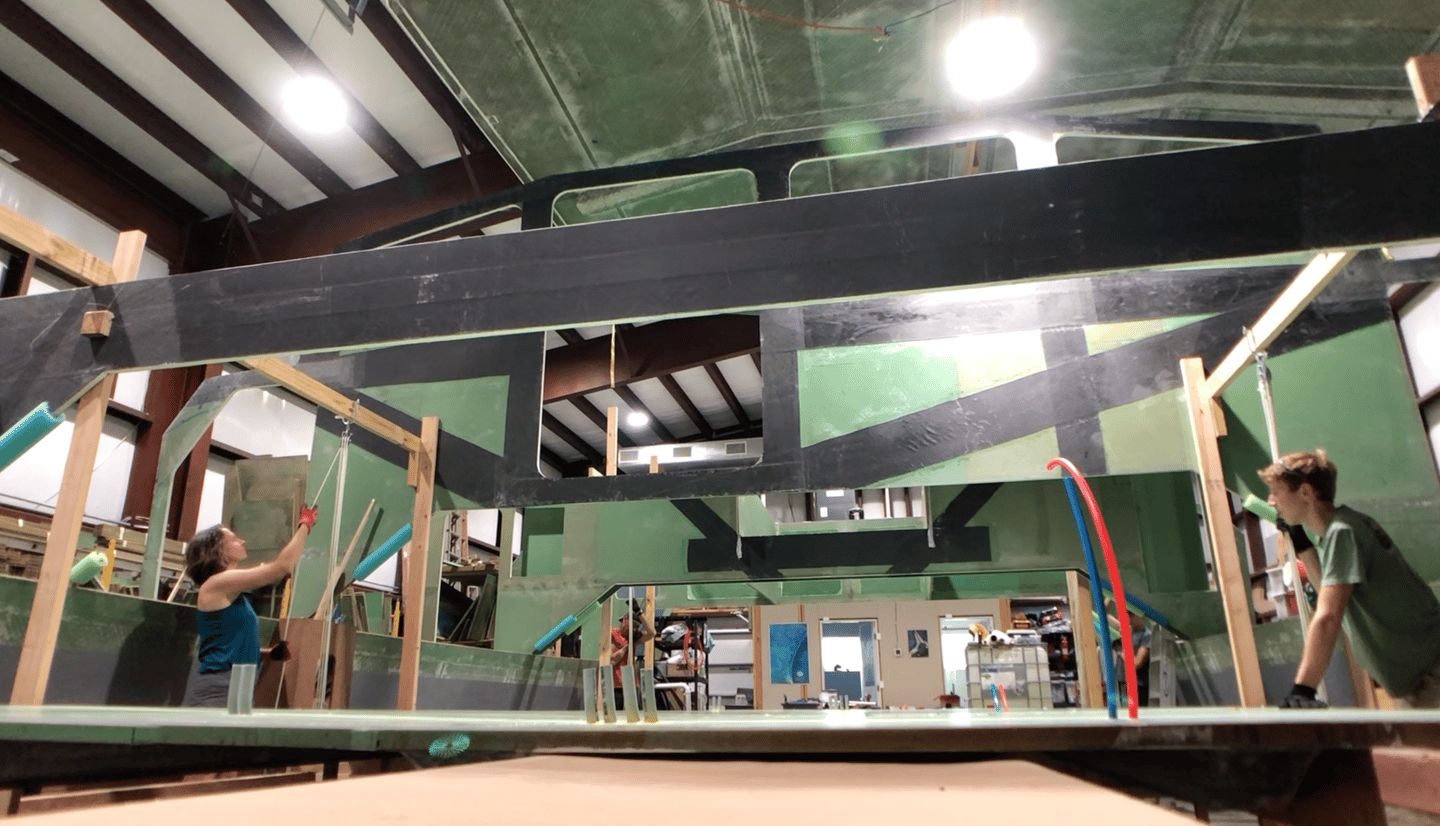
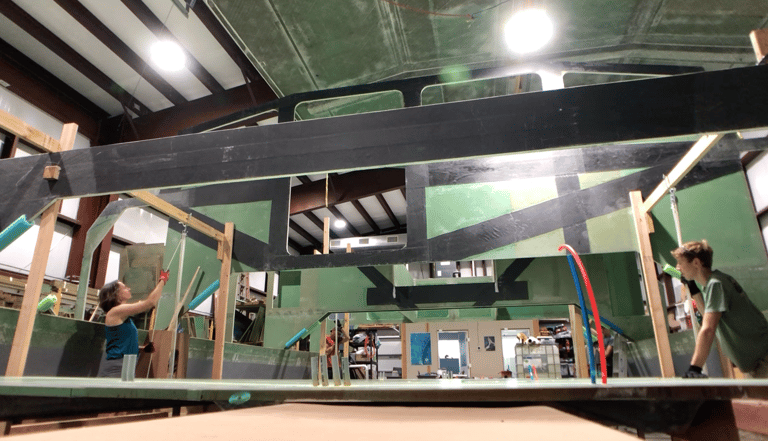
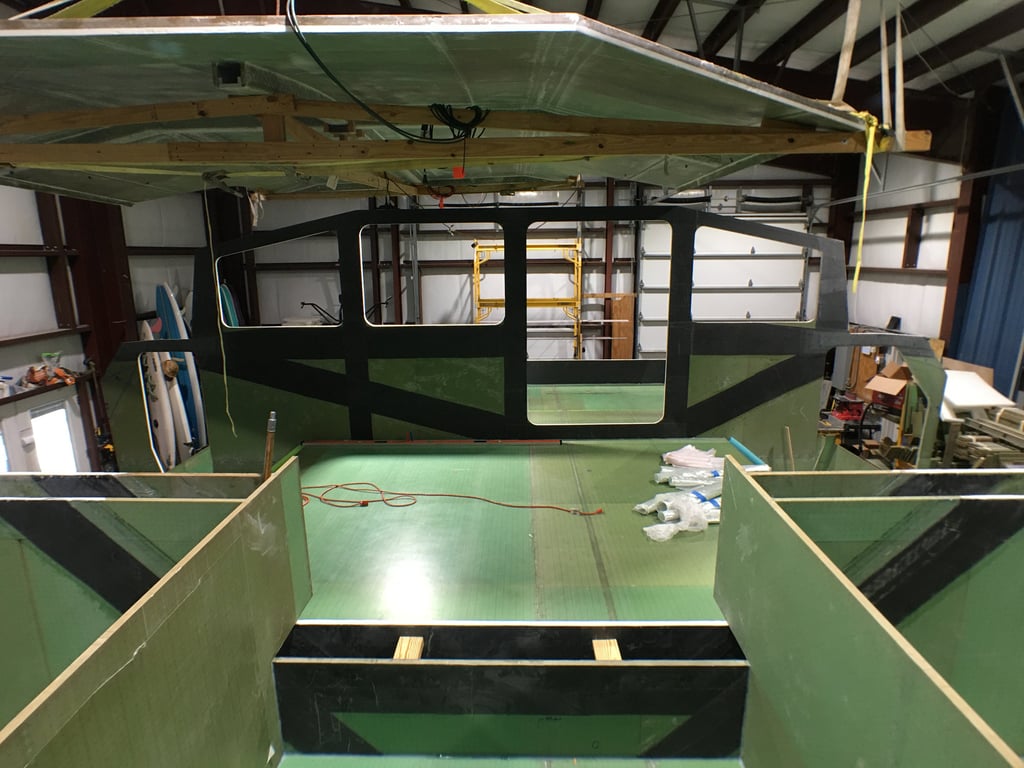
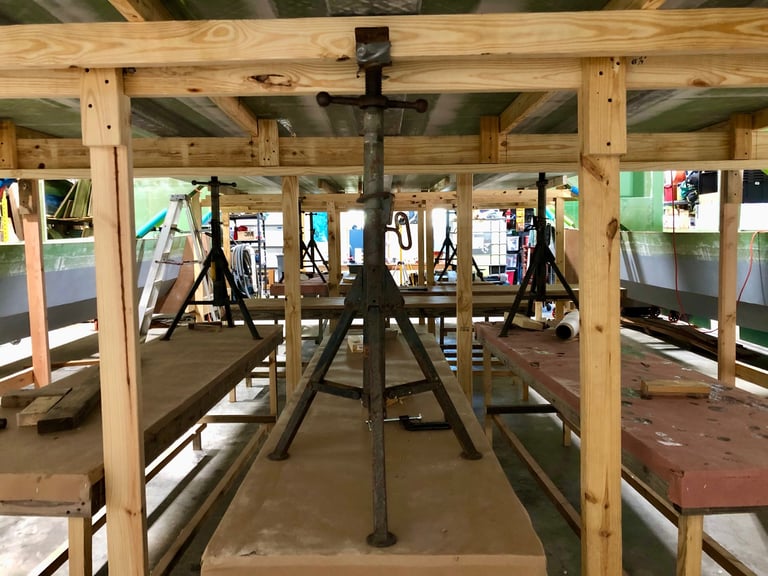
Then we set up a wooden infrastructure of 2x4s, 2x6s, and 2x12s around the deck with pulleys. The four of us took our post at each corner to hoist it up.
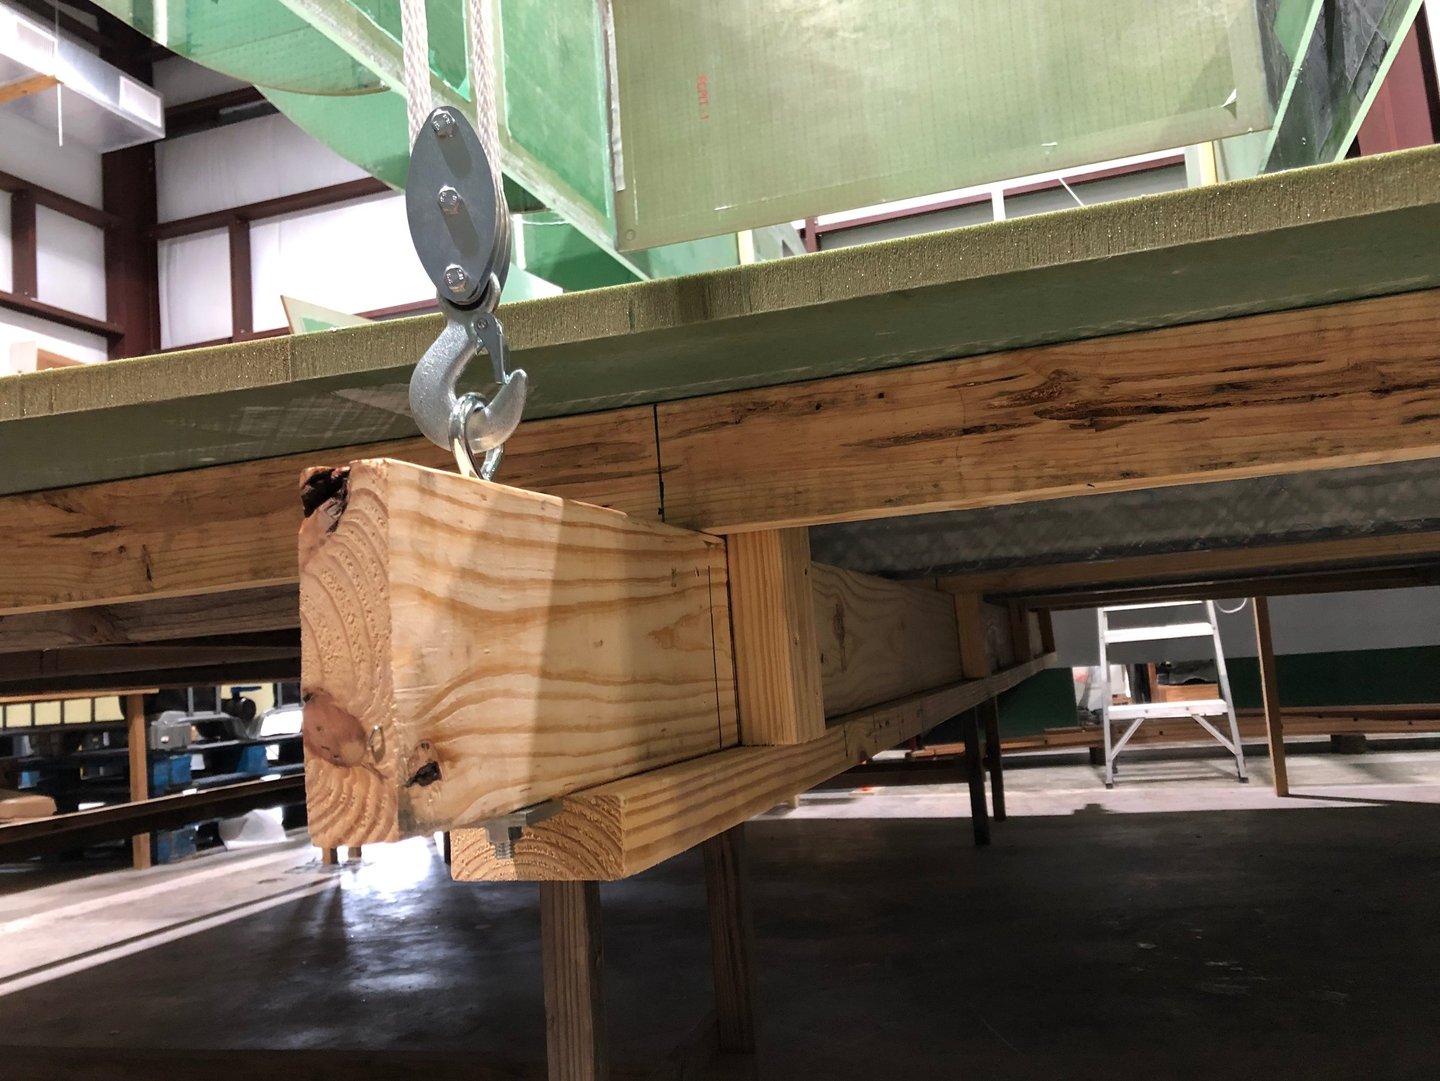
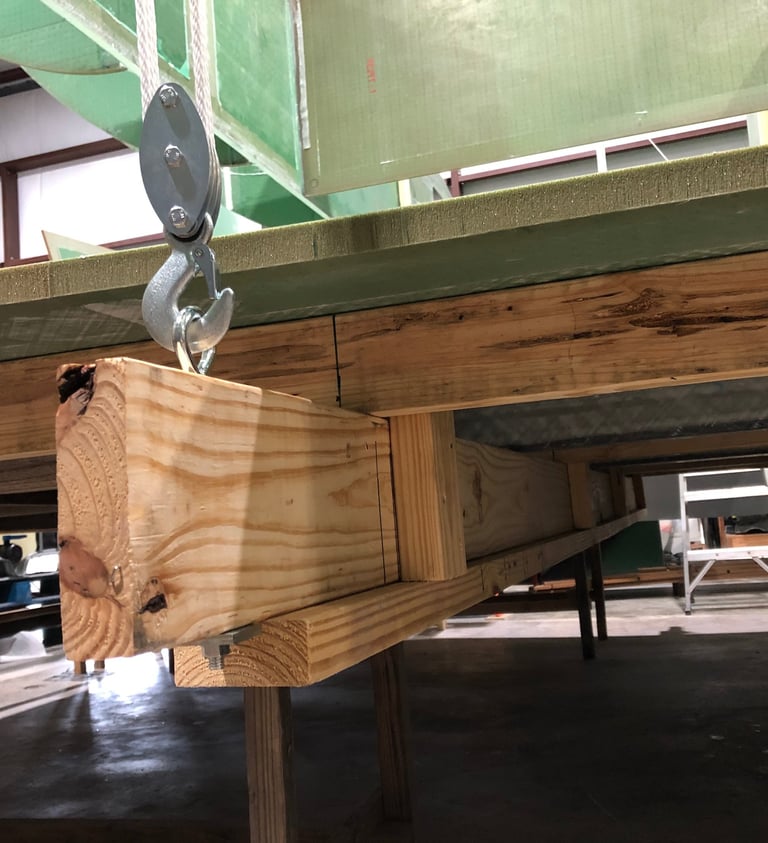
After affixing the bridge deck to the bulkheads and existing panels above, we used a friend’s jacks to really squeeze the epoxy to the deck.

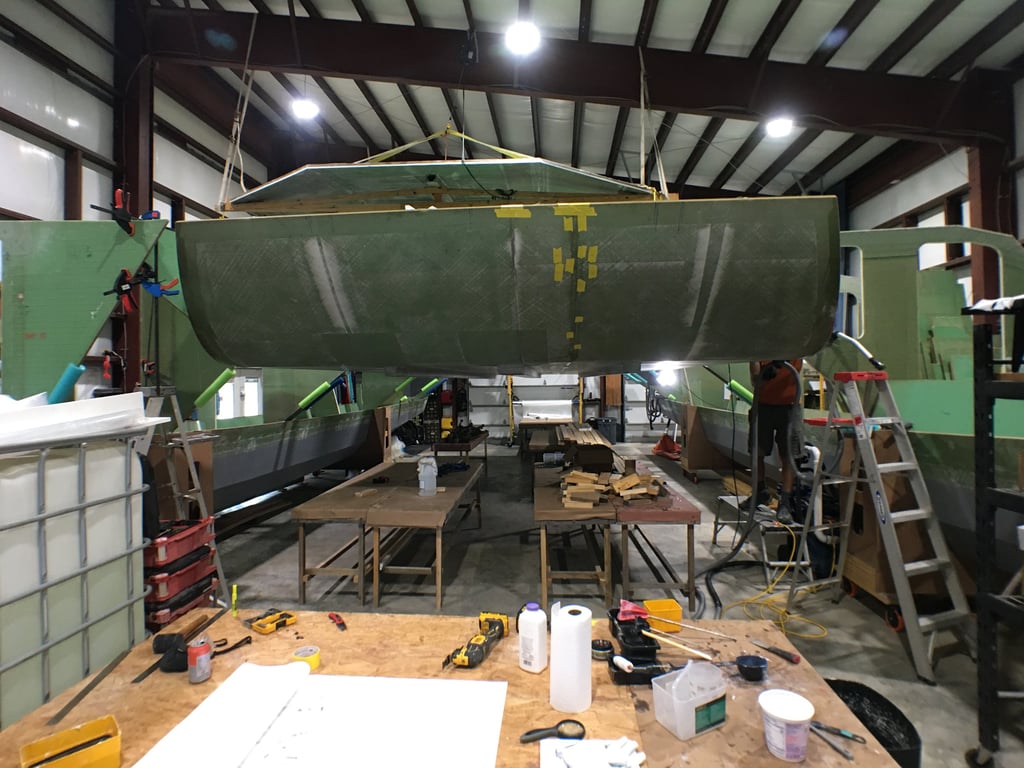
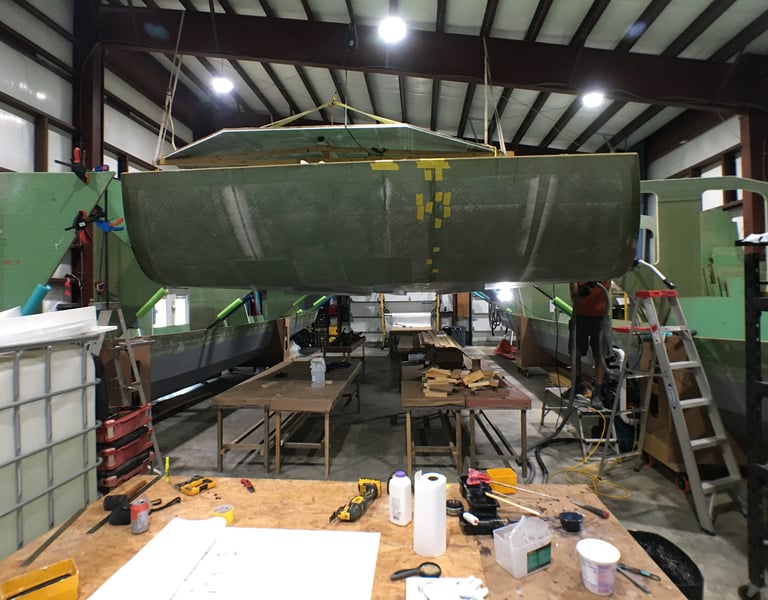
You see that flat floor between the two hulls in the picture below? Well, it needs to take on the shape of the curved pieces above it.

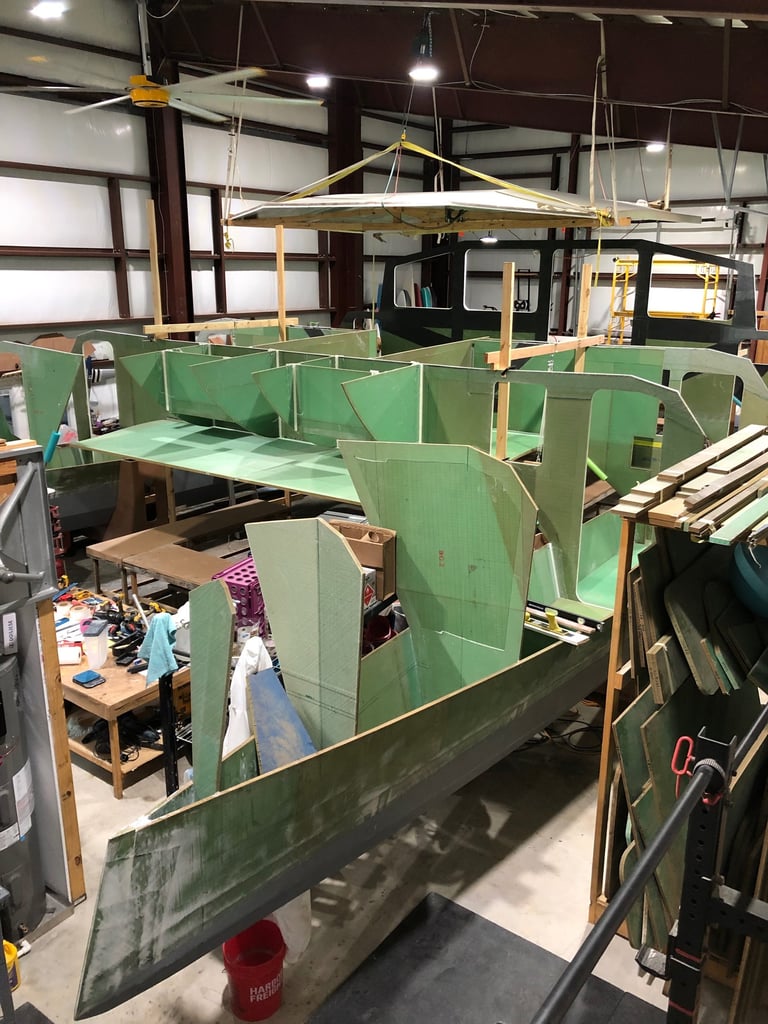
In order to do that, we cut kerfs (grooves) in the bow of the bridge deck running from port to starboard. This allowed us to curve that part up so the boat looks like a sleigh. Who’s up for sledding the waves?
We’re almost ready to host a dance party!
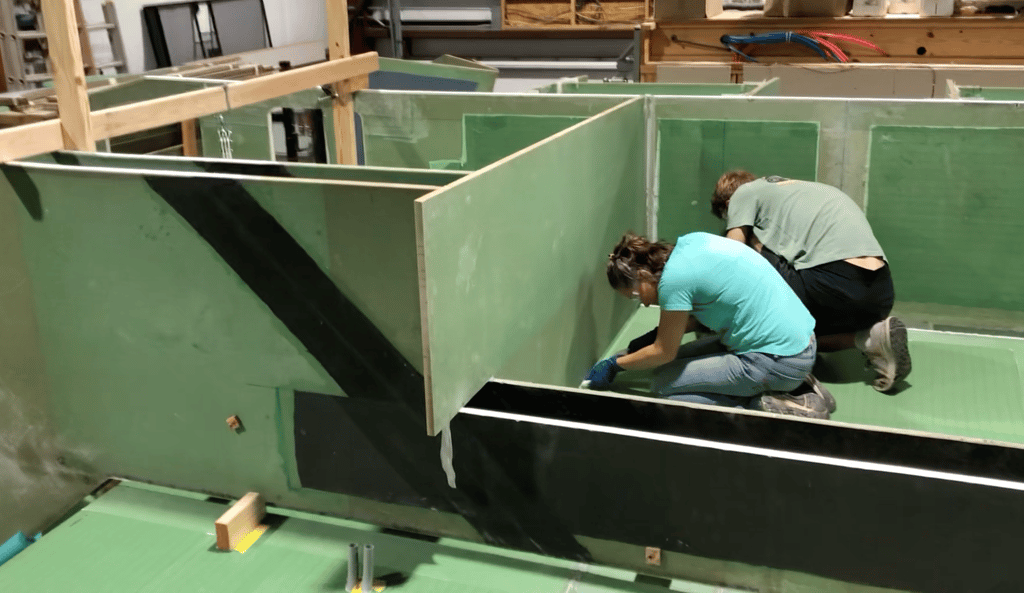
Superman Nick filleted the hard-to-reach joints.

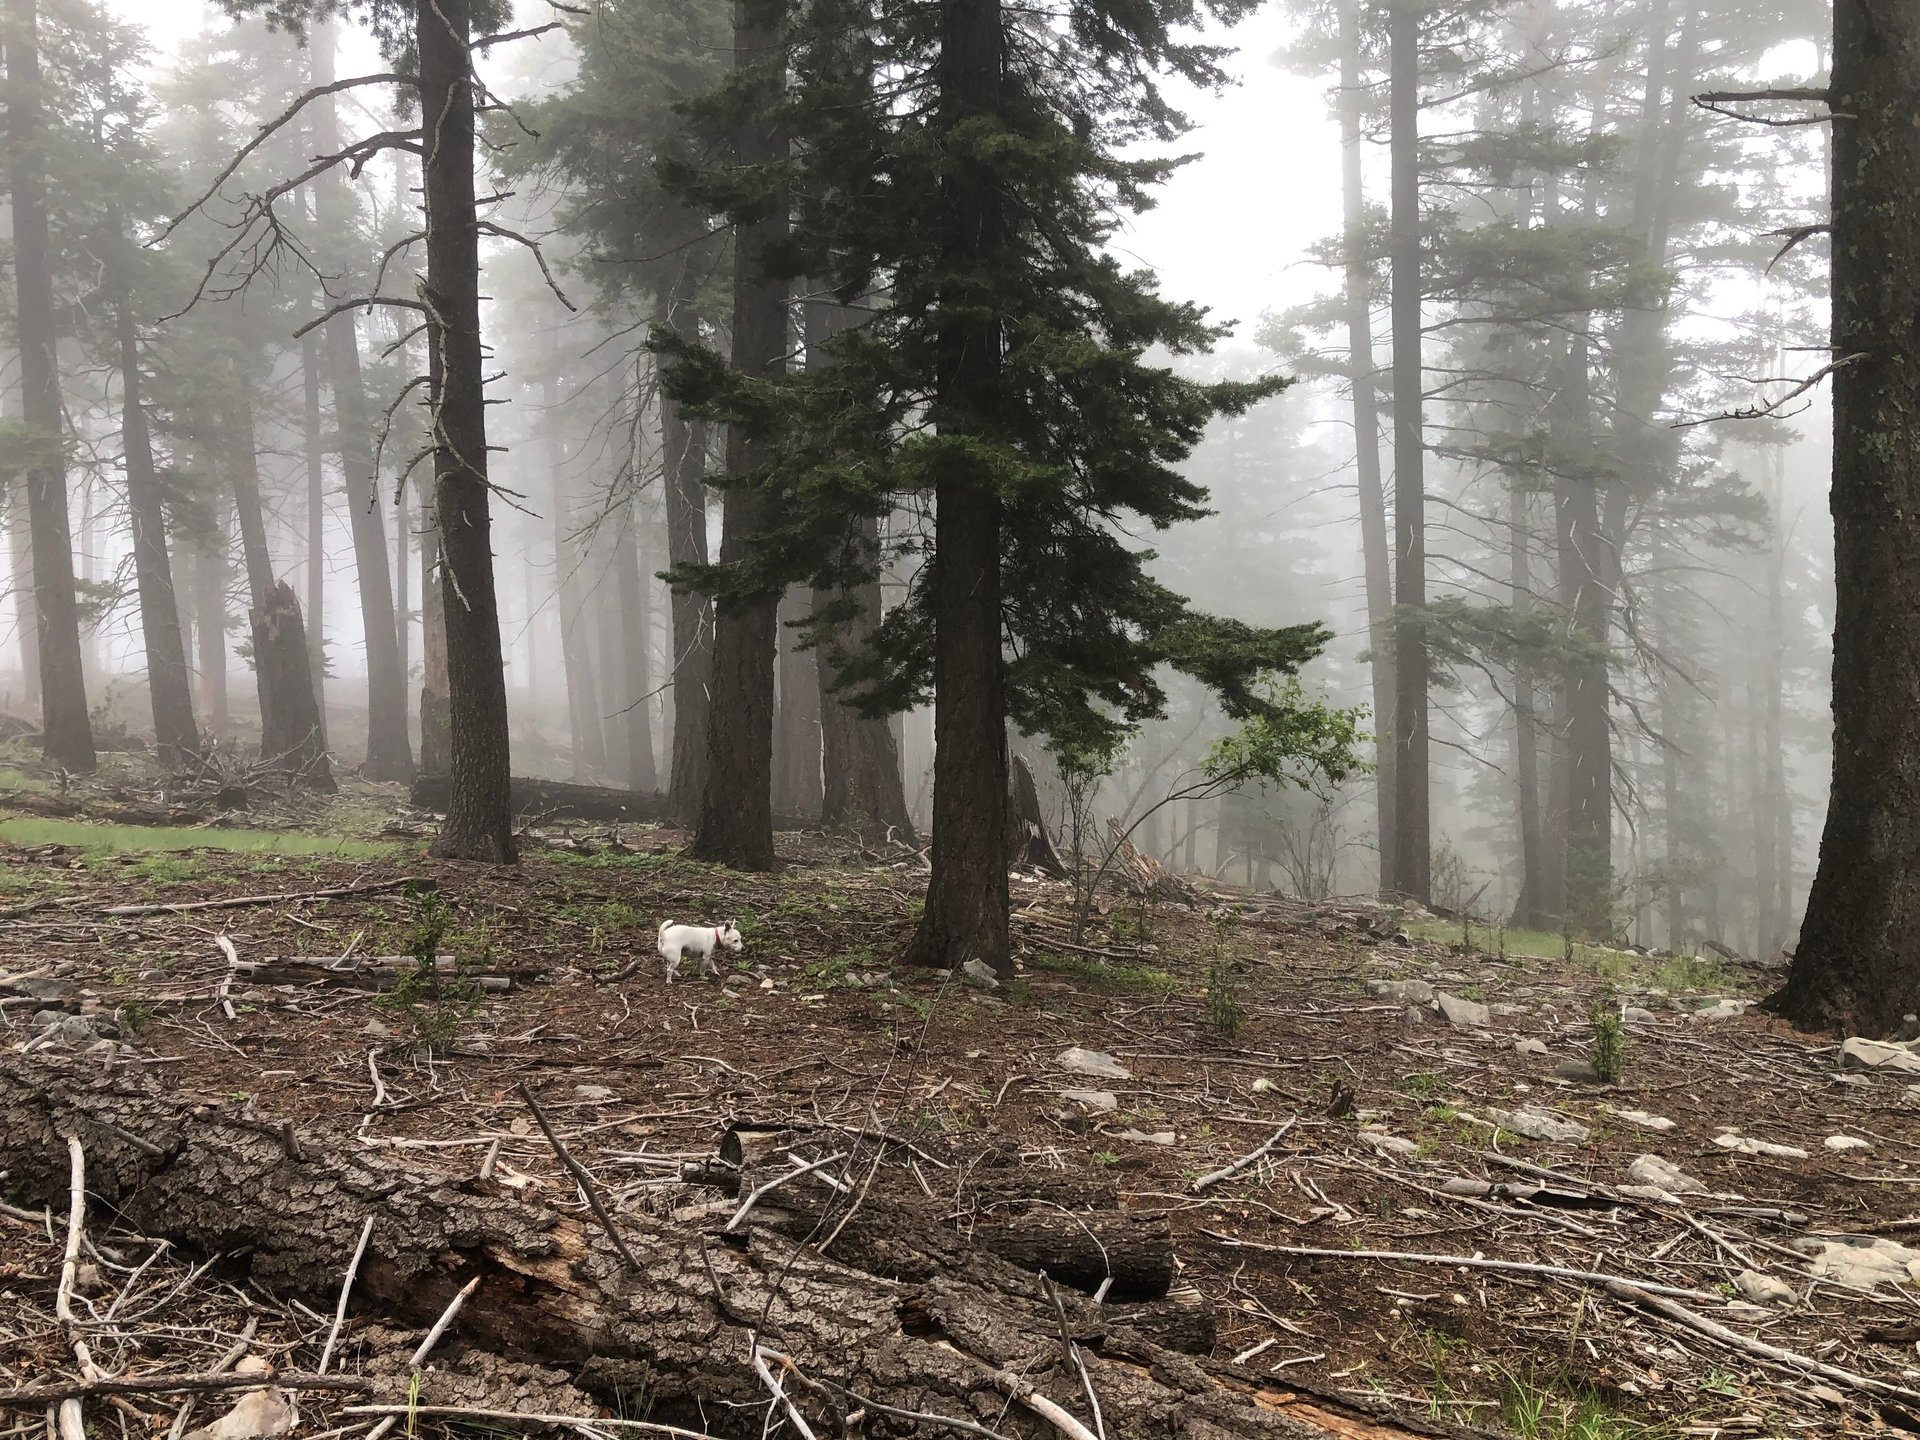
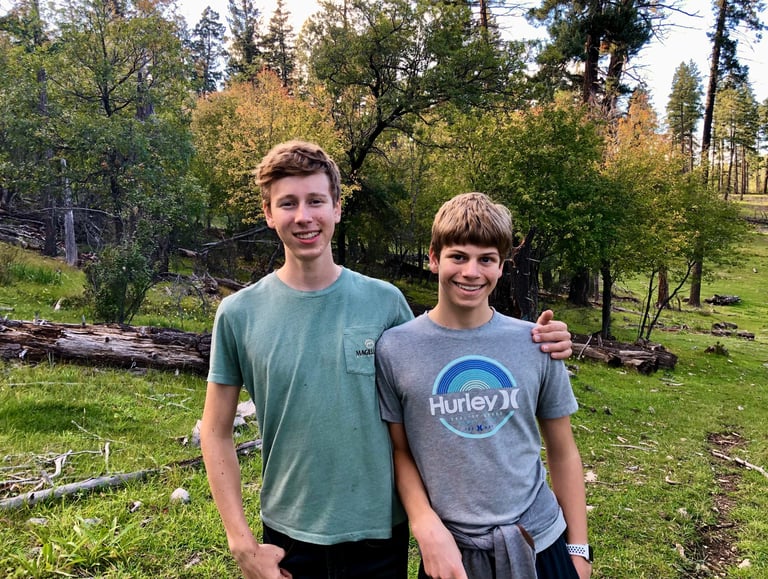
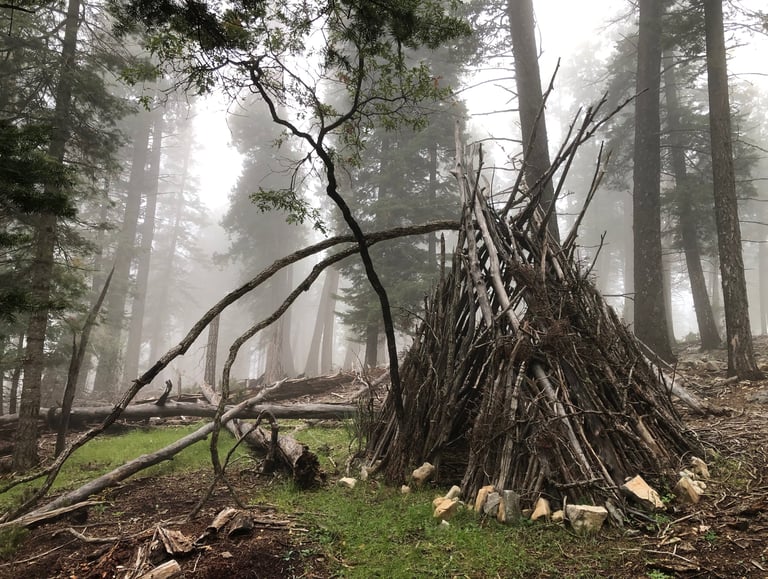
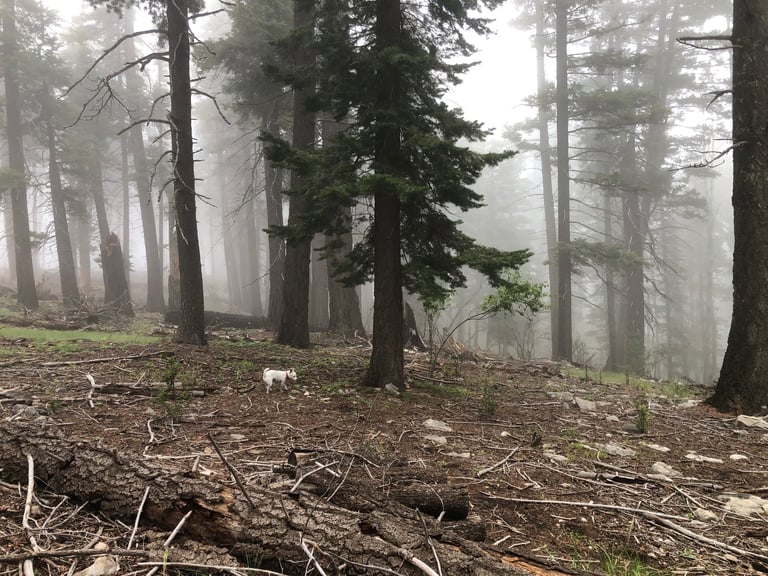
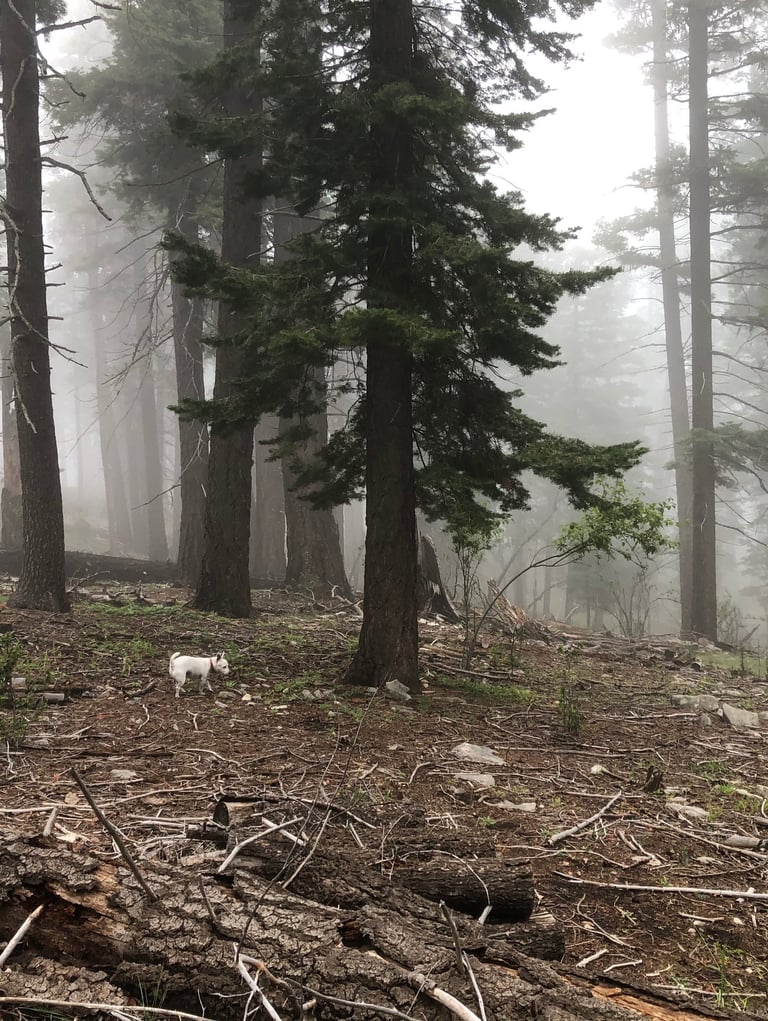
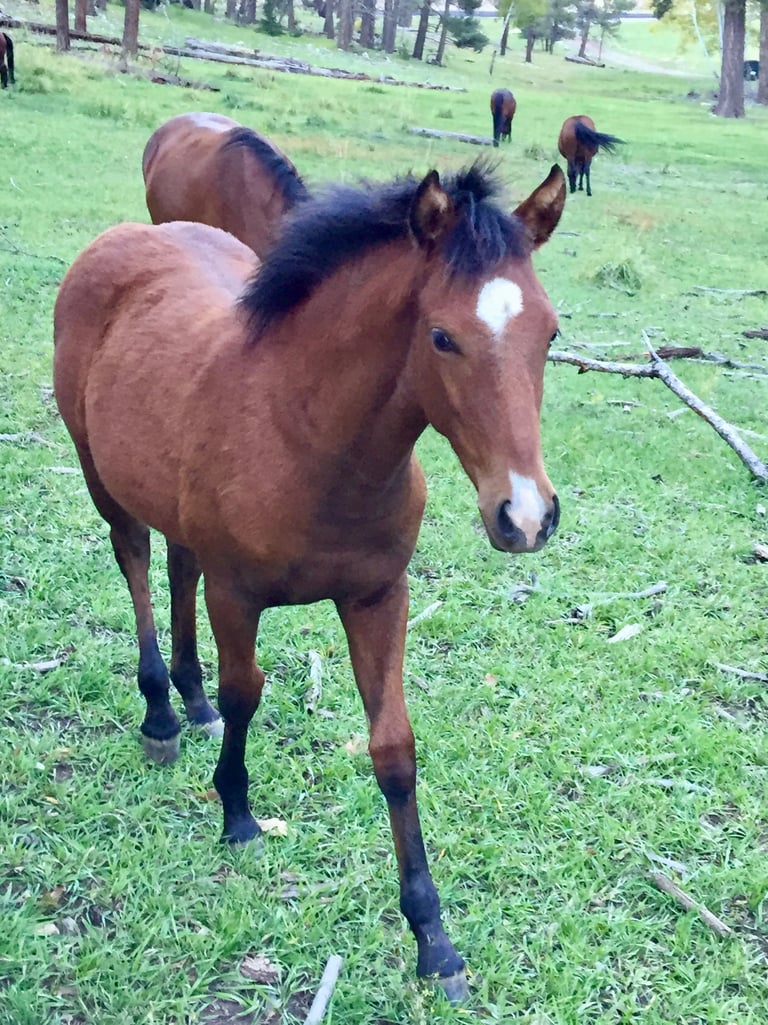
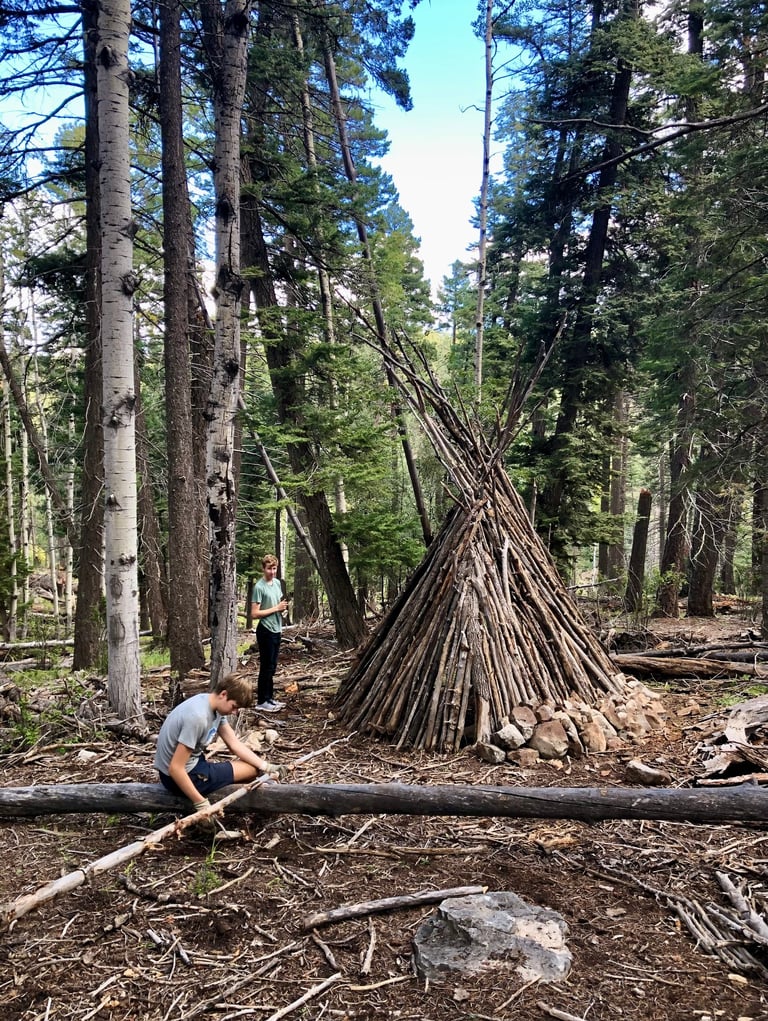
After we reached our goal of attaching the bridge deck, we rewarded ourselves with a beautiful week in Cloudcroft, New Mexico. We love that gem of a place! It’s been a couple of years, so the kids were pleased to see that their fort in Lincoln National Forest was still standing. Kopa was enlivened by all the new scents. I was happy to hike 5+ miles each day. Tristan was a content bicyclist. Calvin was pumped that a wild foal ventured so close to him. And Nick was relieved to take a break from putting big puzzle pieces together.


If you’re interested in watching our bridge deck process, click on the video below. If not, maybe you’d prefer walking the plank!